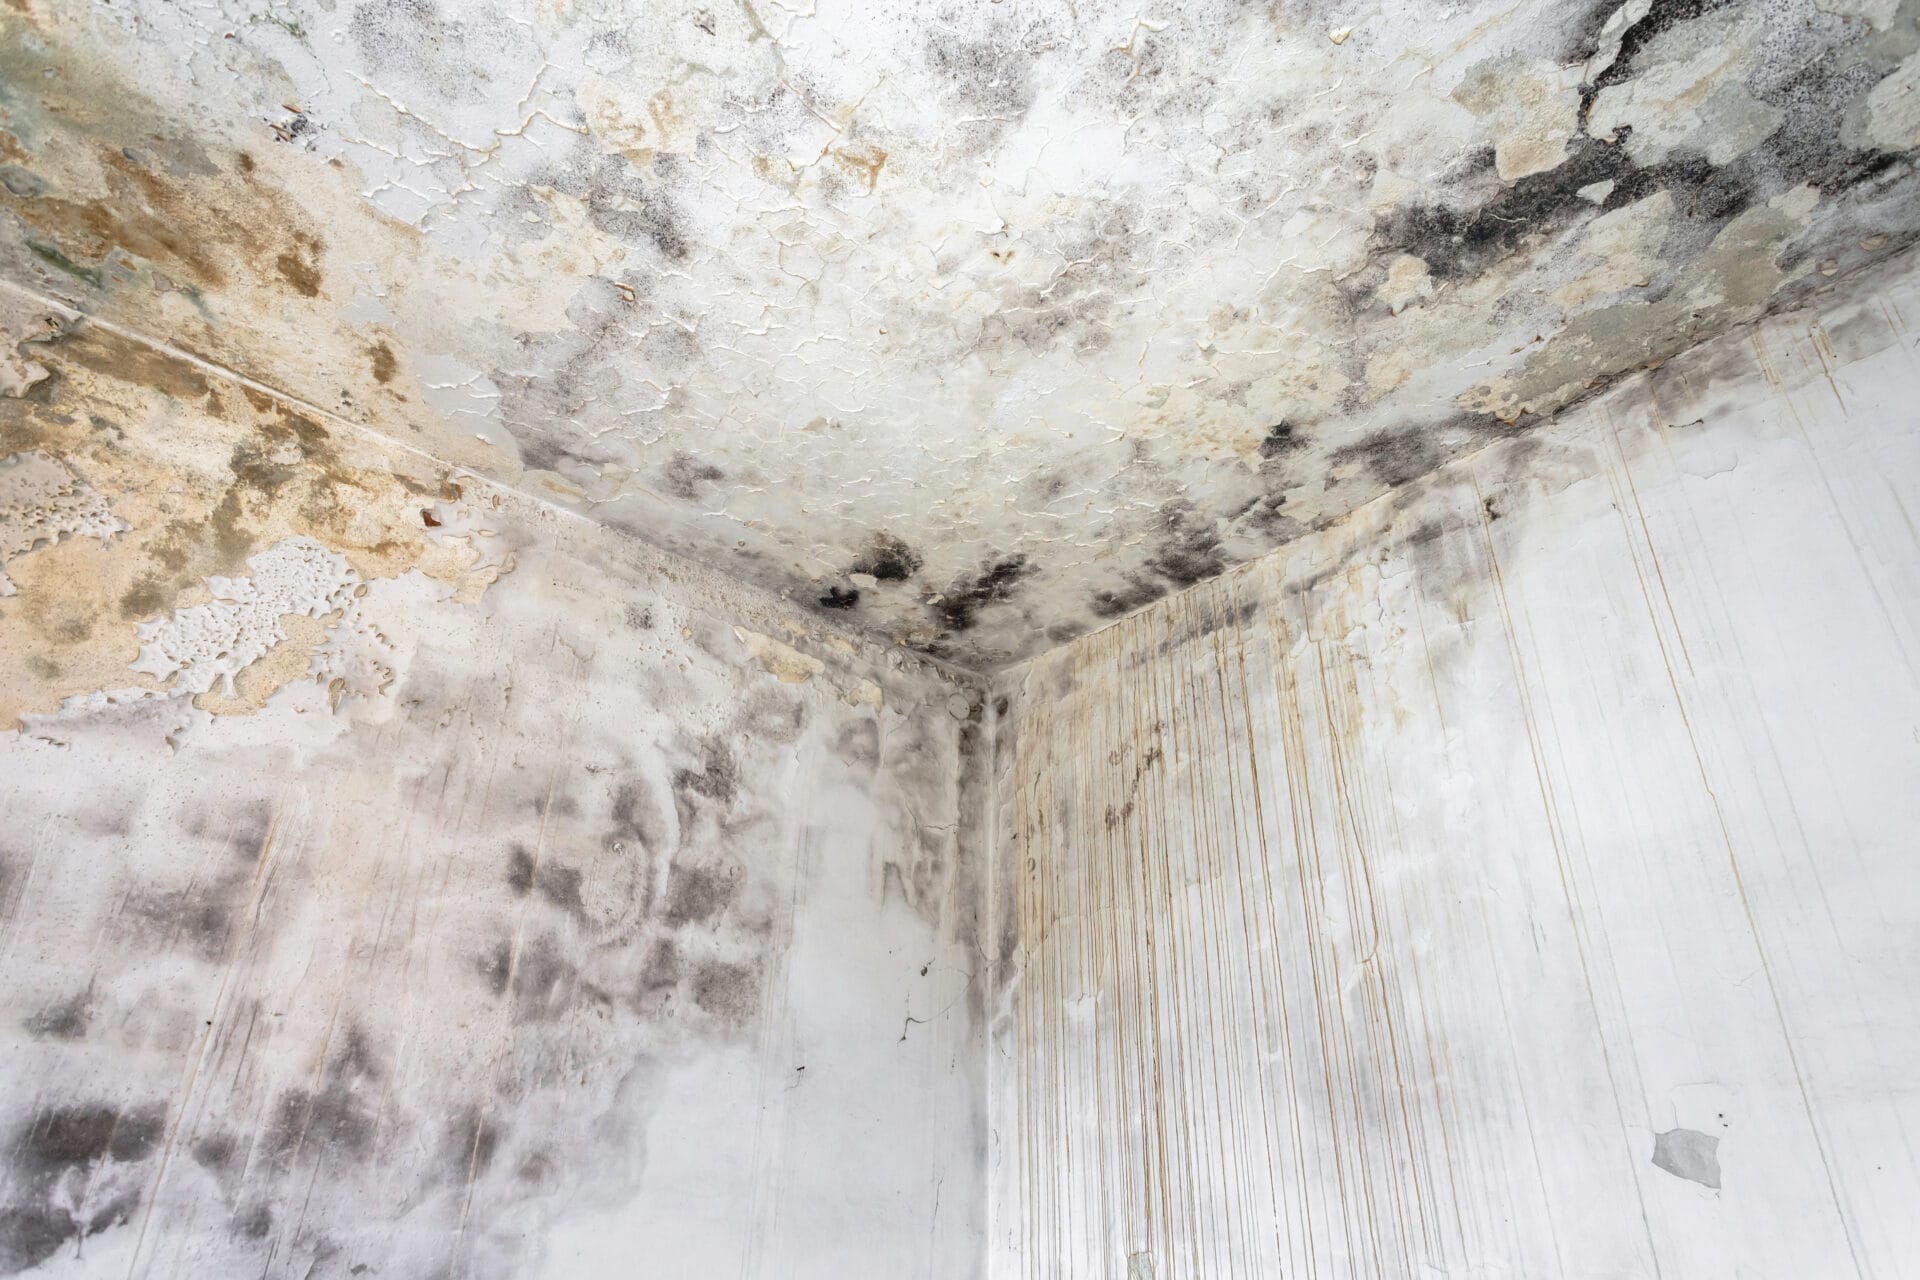
Do you want to protect your home from rising damp? Sometimes, damp may penetrate through the walls and ceilings due to condensation. If there is a musty smell, peeling paint, or damp patches, it may indicate a moisture problem with the property. It happens mostly with older properties. If you encounter these issues, it may be better to contact experts in damp proofing in Worksop.
How to Damp Proof Walls and Ceilings
Inspection and Preparation
An expert can assess the property using tools such as thermal imaging and moisture meters to determine the exact location of the damp. It may help to know whether it is happening due to the penetration, rise, or condensation.
Once the cause is diagnosed, experts may take the necessary measures to address the situation effectively. First, it may be necessary to remove the damaged plaster and paint from the affected walls. When the brickwork becomes exposed, it may bond more effectively with the new damp-proofing system. The technician ensures that the treatment line is at least 150mm above the external ground level. It is always better to keep it above the moisture zone.
Drill the Wall
Drilling small holes at even intervals along the horizontal mortar joints is usually the first step in the damp-proofing process. In most cases, these holes are about 10-12mm in diameter. It is recommended to keep a minimum of 100-120mm space around. It is better to do it both internally and externally. However, it may depend to some extent on the wall construction and the level of access. Through this hole, the damp-proofing solution is introduced to form an internal bond.
Inject the Chemical Solutions
Experts usually inject a silicone-based damp-proofing solution through the holes using a special applicator. Once the solution goes in, it spreads naturally across the mortar bed. It usually creates a water-repellent barrier that may prevent moisture from rising. After curing, it may begin to act as a permanent barrier. It becomes possible to keep the wall protected for decades.
Replastering and Refinishing
Drying of the wall must happen naturally, which may take a few weeks. The severity of the situation may play an important role here. Later, experts began replastering the walls with salt-resistant rendering. It could stop the rest of the ground from impacting the new plaster. It is possible to start redecorating the location in about 4 to 6 weeks. Final steps using the salt are necessary. If this step is ignored, it may ruin the new paint.
Following these steps above, it is possible to damp-proof the home. Expert knowledge plays an important role here, as they have been executing the process for years. Depending on the requirements, they usually choose the best possible method for damp proofing in Worksop. Taking assistance from Paul Newman Damp Proofing, you can avoid moisture-related issues.
Want a long-lasting solution? Contact us today to get a comfortable and dry room. We are available to provide consultation whenever you need it.